Monday, February 18, 2013

SMOKY Chipotle SWEET Potato MAC & CHEESE


This recipe is so satisfying in so many ways! You have texture of a creamy mac and cheese, a sweet and smoky taste, and the freshness of green onion and cilantro. I am always excited to make a new sweet potato dish, as the sweet potato is comprehensively nutritious and delicious. When looking for a carb-centered meal, this has become an old stand-by for us.

Origin:

Variation of a Cooking Light Recipe Sweet Potato Chili Mac

Serves:

Ingredients:

  • 3-4 medium-sized sweet potatoes
  • 1 1/4 cup skim milk
  • 2-3 chipotle peppers, chopped (coming from a can with adobe sauce)
  • Sea salt
  • Black pepper
  • 1/3 cup shredded Colby Jack cheese
  • 1/3 cup shredded sharp white cheddar cheese
  • 3 cups uncooked whole wheat pasta (penne, bowtie, macaroni, just about any type of pasta works)
  • 1 Tbsp olive oil
  • 2 soy-based sausage, such as Tofurkey,  halved and thinly sliced
  • 1/4 cup panko bread crumbs
  • 6-8 sliced green onions
  • small bunch of fresh cilantro, stemed


Cooking:

1. Set oven to 375°.

2. Cook the sweet potatoes using a method you prefer. Usually I microwave them, after piercing them and covering them with a towel. It only takes about 7 or 8 minutes and is much faster than baking them. If you have the time to bake them, go for it.

3. Cook the pasta.

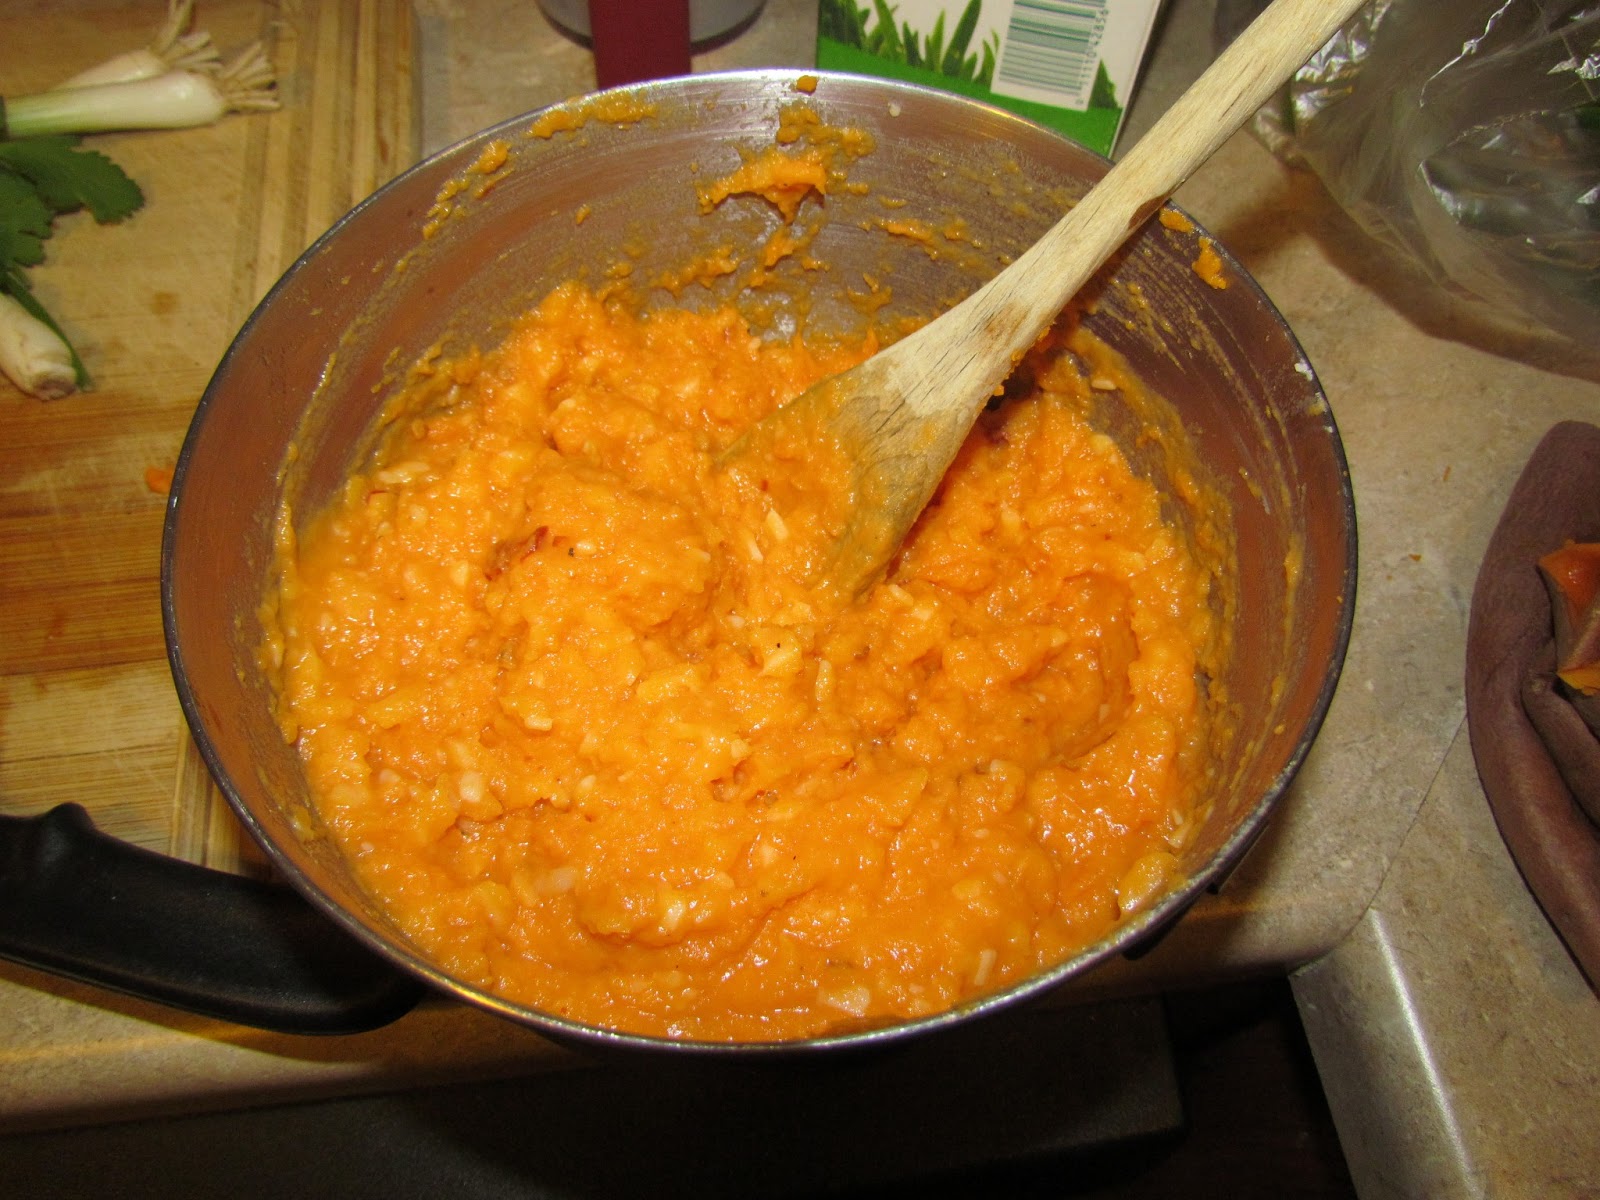
4. When the potatoes have cooked enough that they feel soft through the skin, cut them in half and let them cool enough that you can hold them comfortably. Scoop out the potato from the skin and mash it in a large bowl. Mix in the milk, chipotle peppers, and about 3/4 of the cheese (both kinds). Add salt and pepper to taste.


5. In a cast-iron skillet, or bean pot like I have, heat the oil over med-high heat. Add the soy-sausage and brown, until slightly crispy. Add 1/2 of this to the potato mixture.


6. When the pasta is cooked, add it to the potato mixture and stir together.

7. Transfer the mixture to a deep pot, I put it back in my cast-iron bean pot. Top with the remaining soy-sausage, cheese, and panko breadcrumbs.


8. Bake for about 20-25 minutes. I typically turn the broiler on for about 3 or 4 minutes or until the breadcrumbs and cheese have browned.


9. Spoon into bowls or plates and top with a small handful of green onions and cilantro. Enjoy!

Variations:

  • Try a cheese you prefer! I have made it with all Colby Jack or with all sharp white cheddar before, both with great results.
  • For extra creamy texture, use 1 cup milk and 1/4 cup plain greek yogurt- simply divine!
  • If you don't like chipotle peppers, you can substitute some regular chili powder and cumin. Also, adjust the amount of pepper to your own preference. I like spicy food, so I tend to add more pepper, in general.
  • Soy-sausage is totally optional. I like to add it for a small protein source and to add a different texture to the dish. 

This meal is delicious on a cold winter night. It is filling and comforting, and so very tasty! Let me know how you like it!

-Carly


Sunday, February 17, 2013

On This Week's Menu...

My husband, Jerry, is away this weekend for an Ultra Cyclocross race in Georgia, so I was on my own for writing our weekly meal list. His only request was that we eat something really yummy on Sunday, when he returns. It will be post-race (and a major race, at that) so my only requirements are that it is filling, and has protein. Here's hoping that I selected meals that will satisfy him!

Sunday:

Nepalese Momos with dipping Sauce & Jicama-Pineapple Slaw

Monday: 

Carrot-Cheddar Soup with Dipping Bread

Tuesday:

A-little-like Aloo Palek with Naan

Wednesday:

Tomato & Roasted Red Pepper Baked Chicken with Parmesan Couscous & Brussels Sprouts

Thursday:

Peanut-Crusted Tofu Tacos with Lime Cabbage Slaw & Avocado

Friday: 

Apricot-ed Chicken Pizza with Mozzarella & Goat Cheese topped with Arugula Salad

Saturday:

Out 

Keep checking the blog for some of these recipes to be featured!

-Carly

Saturday, February 16, 2013

Mussels PROVEN(cal) Tasty


Recipe Origin: 

France

Serves:

2 Healthy Appetites/4 Small Appetites


A Word on Mussels:


So, I have always been a self-professed hater of all things seafood. Now, in recent years, I've ventured into the land of seafood with an open mind. Surprisingly, I have developed quite a taste for shellfish. Weird, right? I still get sick at the thought of eating the uber-fishy standard salmon. In keeping with an environmentalist's heart, my husband and I are always looking for the most sustainable and safe seafood options. Mussels are among the best. They are pure protein, low-calorie, and high in various vitamins and minerals. Added bonus: they are pretty darn cheap, too!

Mussels are best cooked fresh, especially if you are located many miles away from the ocean, like me. Typically, I'll buy mussels the day I plan to cook them. Be sure to take them out of any plastic. You should also wrap a damp towel around them to keep them moist. Do not soak the mussels, unless you do so in fresh ocean water (and who is going to do that?).


Preparation:


Ingredients:

  • 3 pounds of fresh mussels
  • 1 cup of dry white wine
  • 3 garlic cloves, minced (more if you are a garlic-lover like me)
  • 3-4 thinly sliced leeks (white and light green portions)
  • 2-3 tomatoes diced (romas work wonderfully)
  • 2 tablespoon butter, cut into small cubes
  • 3 tablespoons minced flat-leaf parsley
  • 2 bay leaves
  • 2 Tbsp lemon juice
  • Sea salt
  • Black pepper


Cleaning the Mussels:

Having made this dish several times, I have tried a few different methods for cleaning and filtering the mussels, and I believe I have found an excellent method! About 40 minutes before you plan to cook, take out your mussels and put them in a large bowl filled with water, about 2 Tbsp salt, and a handful of flour. I typically put these back in the fridge for about 30 minutes. The mussels will filter out the sand during this time, and it truly works. While waiting for the mussels to filter the sand out, I prep the rest of the ingredients so that I'm ready to go. The final step in cleaning the mussels is to scrub and de-beard them. Scrub the outside of the shells, running them under cold water, and discarding any with open shells, which indicates that they are dead, and therefore inedible. Some mussels will have a "beard" which are tiny fibers used to attach the mussel to things. The beard is located along the seam of the mussel, near the "hinge" portion. To remove the beards, hold the mussel in one hand and tightly grasp the beard, pulling it toward the "hinge" portion of the shell. You can also use a sharp knife to cut the beard off. I prefer to use my hands to rip the beard off- it is quite stress-relieving. Once your mussels are scrubbed and "clean-shaven," you are ready to go!


Cooking:

1. Combine the wine, garlic, and leeks in a saucepan or pot (large enough to hold the mussels). Bring the wine to a boil, uncovered, cooking for about 5 minutes, stirring occasionally.
  
2. Add the mussels to the pot, along with the bay leaves, cooking at med-high temperature. Cover for about 4-5 minutes. The mussels should be starting to open. 

3. Stir in the butter, parsley, and tomatoes. Add the lemon juice. Cook, uncovered until the broth reduces until about half and the mussels are open. This should be about 5 minutes. While waiting, warm up a nice crusty bread in the oven. The broth is absolutely heavenly and is perfect for soaking up with some toasty bread.

4. Using tongs, take out the mussels and place them evenly in warmed bowls. Throw away any mussels that have not opened. Crank the heat to high and reduce the broth. Taste the broth and add sea salt and pepper, as needed. Ladle the broth over the mussels. Serve immediately with the crusty bread.


5. At the conclusion of the meal, do yourself a favor and take the trash out. Those shells and discarded mussels won't take long to start smelling terrible. 

Variations:

  • A dry red wine works as nicely as the white, if you prefer it.
  • This is a relatively light meal, or nice starter, but can be made into a heartier meal, when adding to fresh pasta. 
  • When in season, I prefer to use cherry tomatoes or grape tomatoes, cut in half.
  • Butter can be optional--it compliments the shellfish very nicely, and 2 Tbsp over 3 pounds of mussels really isn't much.
  • I tend to be a little heavy-handed on the lemon juice, add it to your preference. Also, I am not much of a salter, especially with mussels, since they are naturally salty. So, as always, taste before seasoning.

I hope you enjoy this recipe as much as we do! This a super-easy recipe for your first time with shellfish. Let me know how you like it!

-Carly


Welcome!

So, through the magic of the internet, you've found your way to my blog. Well, welcome! I hope that you will find your time here helpful, if not entertaining. I wanted to take a minute to let you know a little about myself, so that you know exactly what you are getting yourself into!

I am not, in anyway, a professional chef, nor do I have any training. Most of what I've learned about cooking I've picked up from cookbooks, TV shows, and friends and family. I cook because I love food and I love to provide the ones I love with a delicious and nutritious meal. I love to try new recipes and taste new kinds of food. I love, love, love to eat which is the biggest reason why I love to cook.


I called this blog "A Wooden Spatula" because it is my absolute favorite kitchen tool. Simple and versatile. I've been using the same bamboo spatula since I started cooking for myself, my first year living off-campus in college. We've been through a lot, my wooden spatula and I. Through terrible disasters and impossibly delicious triumphs, my wooden spatula has been there.

My husband and I with our dog, Gus, on a cold day at the beach.

My day to day life consists of working as an elementary school teacher, exercising, and spending time with my wonderful husband and our dog Gus. My husband is an extremely active scientist who trains for cycling, running, and triathlon races throughout the year. With his training, comes requests for specific dietary meals. In the most simple of terms, we eat healthy. This is my largest challenge in finding, modifying, and cooking meals each night of the week: each ingredient must serve not only for taste, but more importantly, it must provide nutritional benefit. My husband loves to tell me that he'd be fine eating plain baked chicken and salad every night of the week, but with my love of food and TASTE, I shudder at the thought. So, in compromise, we take time each week to write a menu before venturing to the grocery store. This helps in several ways, as we have a plan for each night of the week, we stick to a budget, we refrain from buying unnecessary ingredients, and we cut down on trips to the grocery store. Typically, I ask my husband what he needs to eat this week to compliment his training. For example, if he has a hard training day, he'll need a protein-focused meal, or if he's prepping for a race, he'll need a carb-heavy meal, and of course, my favorite, the meal AFTER a race, an anything goes meal! As with most things, balance and moderation are always key.

I'm hoping that this blog will chronicle my successes in the kitchen. I hope that the recipes will serve to help you bring some delicious into your kitchen, too! Now...let's eat.

-Carly